Editing 360 Video Made Simple: Turn Your 360 Grad Kamera Clips into Engaging Stories
Editing clips from a 360 Grad Kamera can feel confusing at first, because your screen only shows a flat window while the camera has captured a full sphere of action. The good news is that you do not need complex software or a film degree to turn raw 360 footage into something people will actually watch. With a clear workflow, a bit of patience, and a sense of what viewers enjoy, you can guide their eyes through each scene instead of leaving them lost in every direction. Once you understand the basics, editing becomes the place where your 360 Grad Kamera footage turns into real stories rather than random experiments. Over time, this process starts to feel as natural as filming itself.
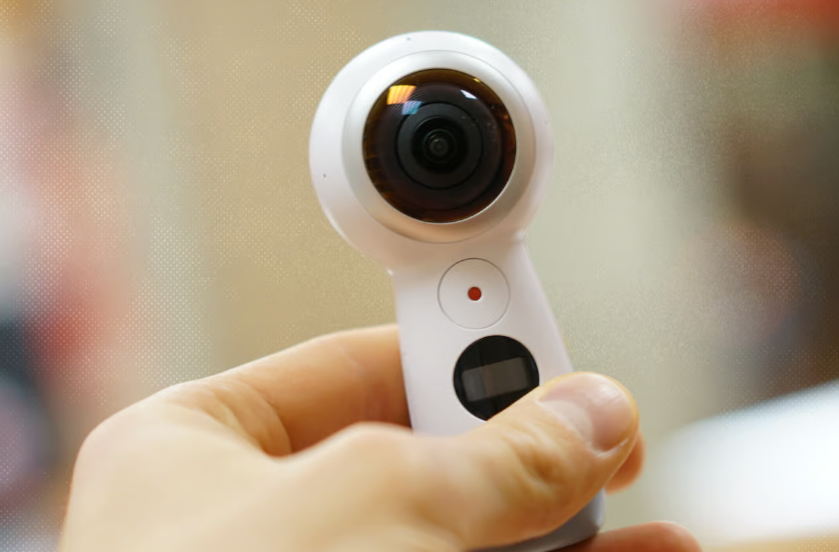
Understanding Your 360 Grad Kamera Footage
Before you touch any controls, spend time just watching what your 360 Grad Kamera saw. Use the viewer in your editing app to spin the image, zoom in and out, and notice where the horizon sits. You will quickly see that small changes in the angle of your 360 Grad Kamera can make people look either natural or distorted, and that busy backgrounds can distract from important moments. This step is like walking through a location after a shoot and learning where the real story is hiding. Instead of worrying about effects, you are learning how the world looks through the eyes of your 360 Grad Kamera.
It also helps to understand how stitching and stabilization affect your clips. Most 360 Grad Kamera models use two ultra wide lenses whose images are joined by software, which means the seam between lenses can sometimes create soft areas or strange artifacts. If you know where that seam usually falls in your 360 Grad Kamera footage, you can avoid placing faces or key objects there when you film. Stabilization is another invisible tool that keeps your 360 Grad Kamera footage watchable, but it can only do so much. When you move too fast or shake the camera, the algorithm may introduce small warps. Recognizing these patterns now will guide your decisions later when you choose which moments deserve to be in your final story.
A Simple Workflow for Editing 360 Video
A simple, repeatable workflow keeps editing from turning into a stressful tangle of settings and timelines. Start by copying every file from your 360 Grad Kamera to a clearly named folder on your computer or phone, such as the date and location of the shoot. Back up that folder before you delete anything from the 360 Grad Kamera so you always have a safe original. Then, open your editor and do a fast first pass. Watch each clip from your 360 Grad Kamera and mark the parts where something actually happens: a reaction, a view opening up, or a piece of dialogue. Ignore the boring seconds where nothing moves.
On your second pass, trim clips down so that each one starts just before the interesting moment and ends shortly after it finishes. With 360 Grad Kamera footage, it is tempting to keep everything because the view feels rich, but long empty stretches will lose your audience. Aim to keep only the parts where you would be excited to turn your head if you were inside the scene. Once trimmed, place the clips from your 360 Grad Kamera on a timeline in a simple order that matches how the day felt. Do not worry about music or fancy transitions yet. In this stage, you are building the backbone of your story and learning which pieces of your 360 Grad Kamera footage truly matter.
Shaping a Story with Your 360 Grad Kamera
Now it is time to guide the viewer’s eye rather than leaving them alone inside your 360 Grad Kamera bubble. Most editing apps let you set keyframes that act like an invisible camera pointing in different directions at different times. Start by choosing a main subject for each clip from your 360 Grad Kamera, such as a person speaking, a landmark, or a movement in the crowd. Set the first keyframe so the viewer begins on that subject, then gently pan or tilt over a few seconds to reveal secondary details. Slow moves feel more comfortable and give people time to notice things they might otherwise miss in your 360 Grad Kamera footage.
Think of each scene as having an opening, a middle, and an exit. In the opening, your 360 Grad Kamera should establish where we are and what we should care about. In the middle, use small camera moves or cuts between clips to keep energy alive without causing confusion. At the end, either settle on a calm detail or move the view toward the direction of your next scene, so the transition feels natural. When you shape your 360 Grad Kamera story this way, viewers can relax. They no longer have to guess where to look, but they still retain the freedom to explore the environment if they want to rewatch a favorite moment.
See also: Exploring the Role of Technology in Mental Health Care
Adding Sound, Effects, and Titles Without Overdoing It
Sound is half of the experience, especially when images from a 360 Grad Kamera already feel visually rich. Begin by cleaning up the original audio from your 360 Grad Kamera clips. Many basic editors offer noise reduction and simple equalizers that make voices clearer and reduce constant background hum. After that, choose music that matches the pace of your story. Keep the volume balanced so dialogue and important natural sounds from your 360 Grad Kamera recordings do not disappear under the soundtrack. Subtle ambient tracks often work better than loud anthems, because they support emotion without stealing attention.
When it comes to visual effects, treat them as seasoning rather than the main dish. A gentle color correction to fix white balance or exposure will usually help your 360 Grad Kamera footage more than any dramatic filter. If you add transitions, keep them simple: a clean cut or a short fade is usually enough. Heavy glitches, spins, or flashy wipes can clash with the natural feel that a 360 Grad Kamera provides. Titles and on screen text should be clear and brief, placed where they do not interfere with faces or key actions. The goal is always the same: help people understand what your 360 Grad Kamera is showing them, instead of proving how many editing tricks you know.
Exporting and Sharing Your 360 Edits with Confidence
Once you are happy with the structure of your edit, it is time to export versions that suit different platforms. Many editors offer presets for common sites, but it still helps to think through your choices. Decide whether a given project should stay as a full 360 Grad Kamera experience or be reframed as a flat video in horizontal or vertical format. A travel walk through might work best as immersive 360 content, while a quick reaction or funny moment from your 360 Grad Kamera clips can shine as a short vertical post. Export a test file, watch it on your phone, and check that details remain sharp and motion feels smooth.
Finally, consider how you will present your work to invite people in. Write descriptions that explain what the viewer can expect from your 360 Grad Kamera story and suggest interesting things to look for in the scene. Choose thumbnails that are clear even at small sizes, ideally with a human face or strong shape that represents what your 360 Grad Kamera captured. Over time, you will develop your own style for titles, pacing, and framing. With each new project, editing will feel less like a technical hurdle and more like a natural extension of carrying a 360 Grad Kamera in your bag, ready to turn everyday moments into engaging stories.